DIY solar survival system
The news about the power station being attacked in the international news is disturbing. I decided to build a home solar power system that can supply electricity for myself. War rarely spreads to residential areas, so I think safety is not an issue, but the power supply and water supply and Food shortages were bound to be a problem, and I took action to ensure that my family would have a reliable energy supply in any emergency.
Step One: Design of the Solar System
Before designing a solar system, you must first identify the components of the system. I wanted this system to meet most of my family's electricity needs, and ultimately I chose a 5000 watt system. I didn't want to have a power outage due to any weather or whatever. For a 5000 watt system, it mainly includes solar panels, inverter, battery storage, wiring and other accessories. In order to ensure the performance and security of the system, I need to carefully select each component.
Solar Panel Selection: The choice of solar panels depended on the space on my roof and the expected energy production. Taking a 300-watt single board as an example, approximately 17 boards are needed to reach the 5000 watt design goal. After I considered the size of the solar panels and the area on my roof that could receive effective sunlight, I finally chose to buy 10 300-watt solar panels. Although it could not reach 5000 watts of power, I thought that I would not be 24 hours a day. The 5000 watt electrical appliance can be used at full load every hour, so there is no big problem if the charging power is slightly less.
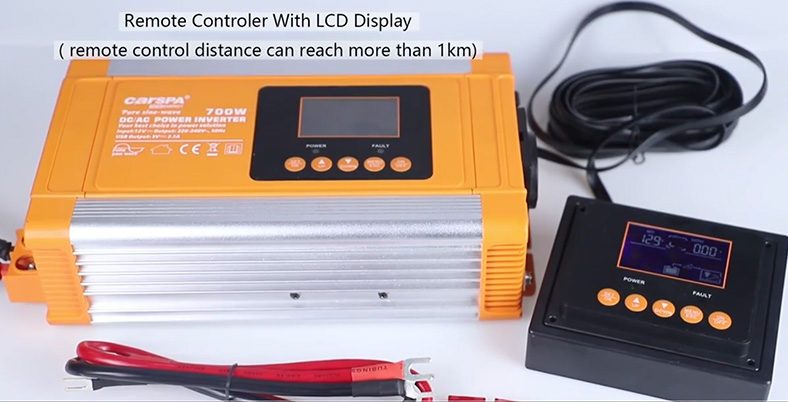
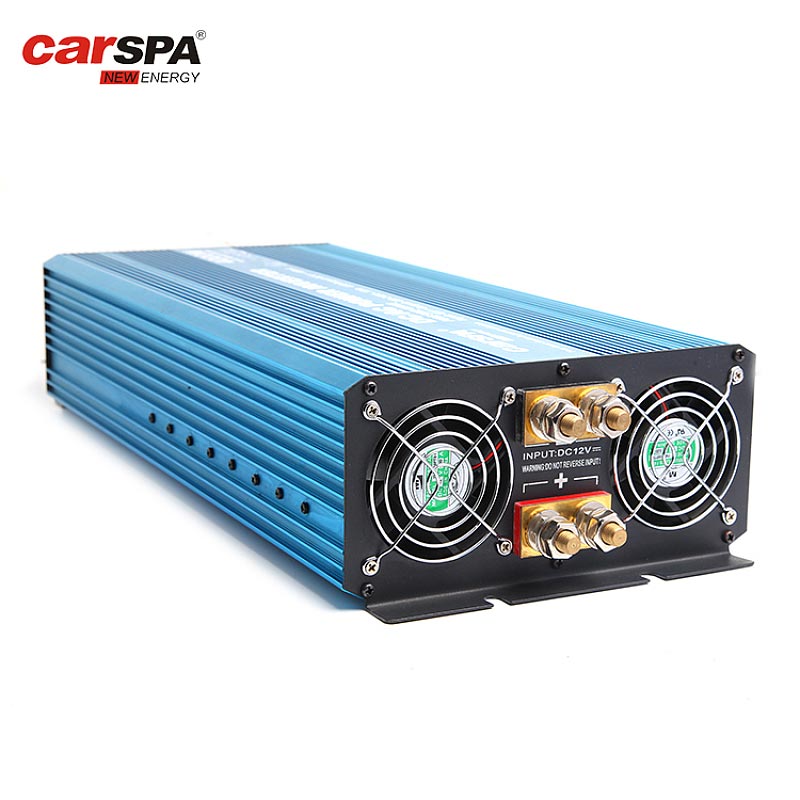
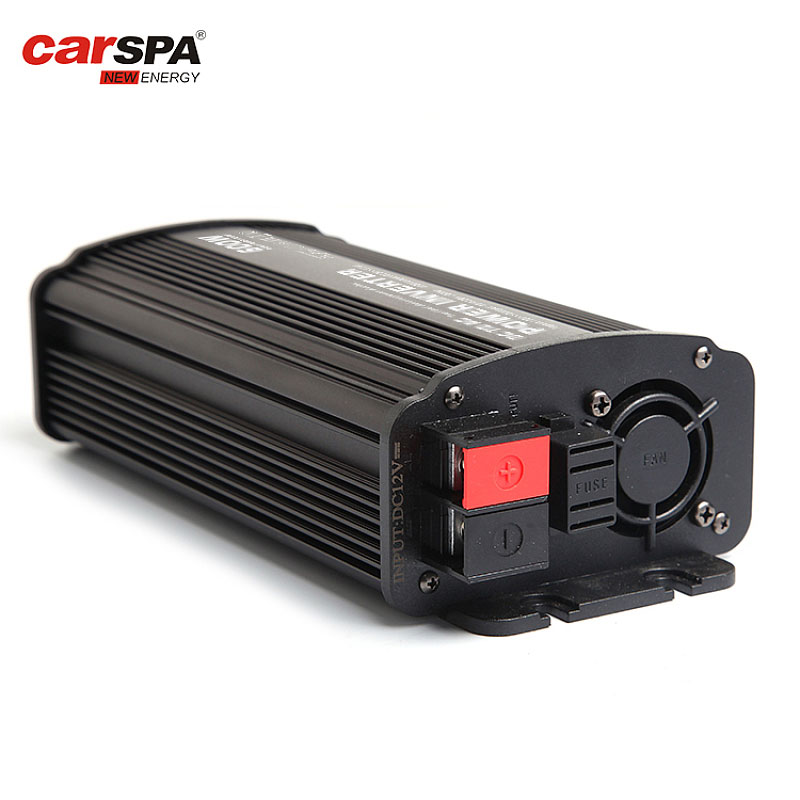
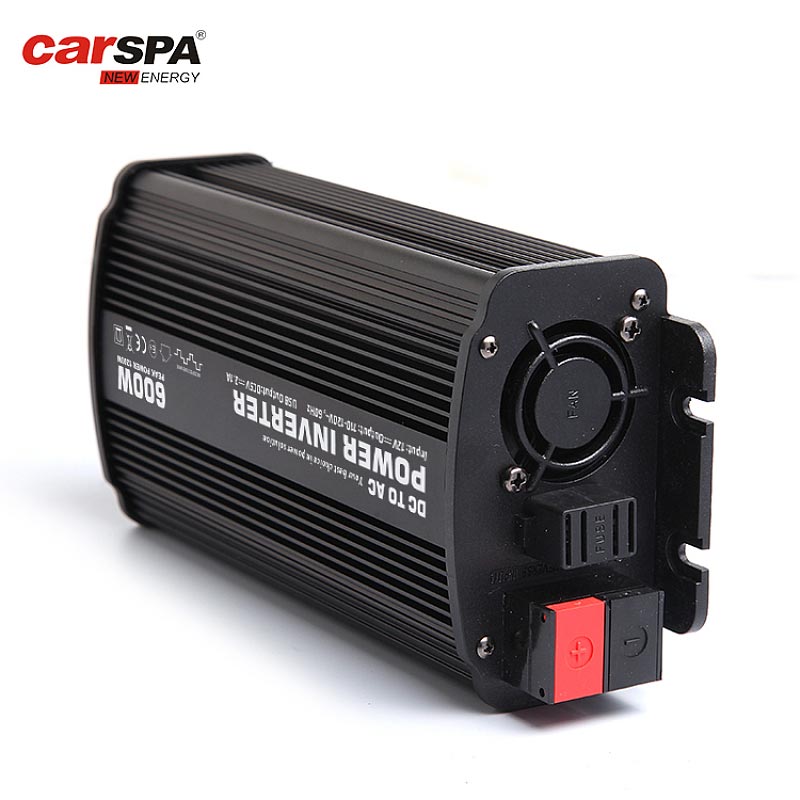
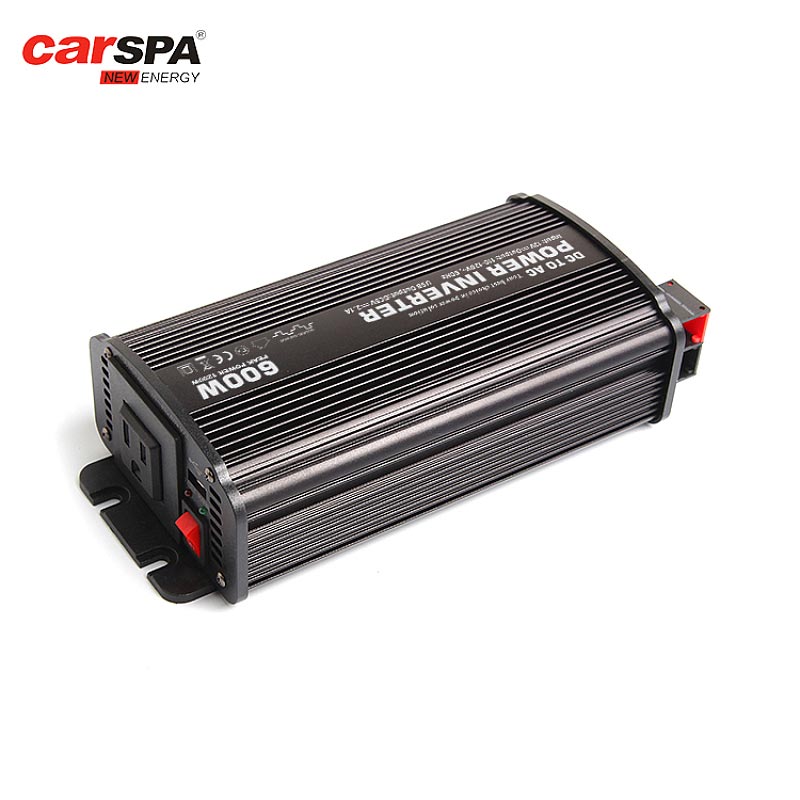
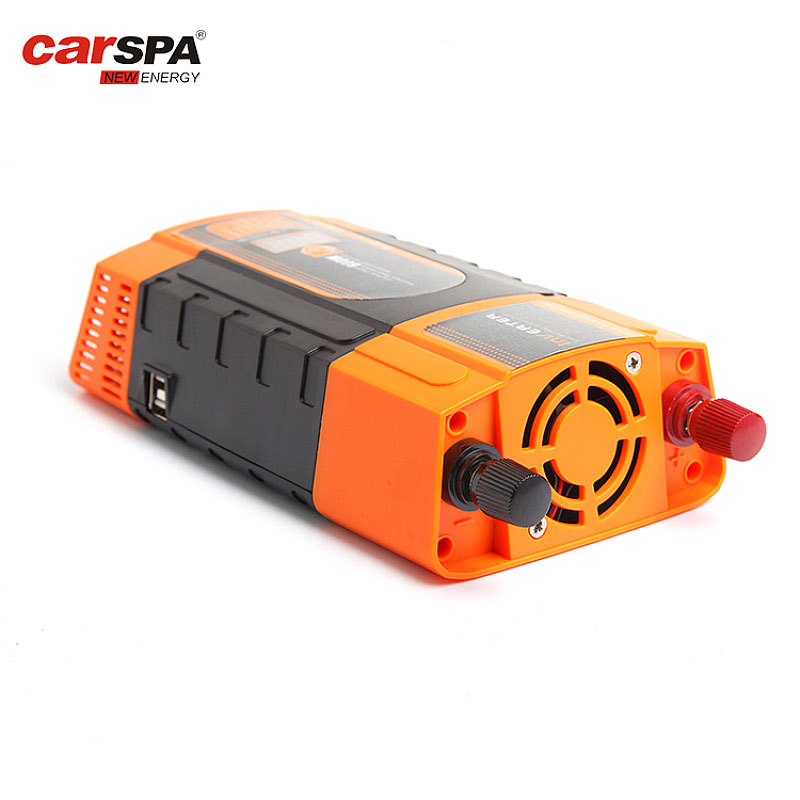
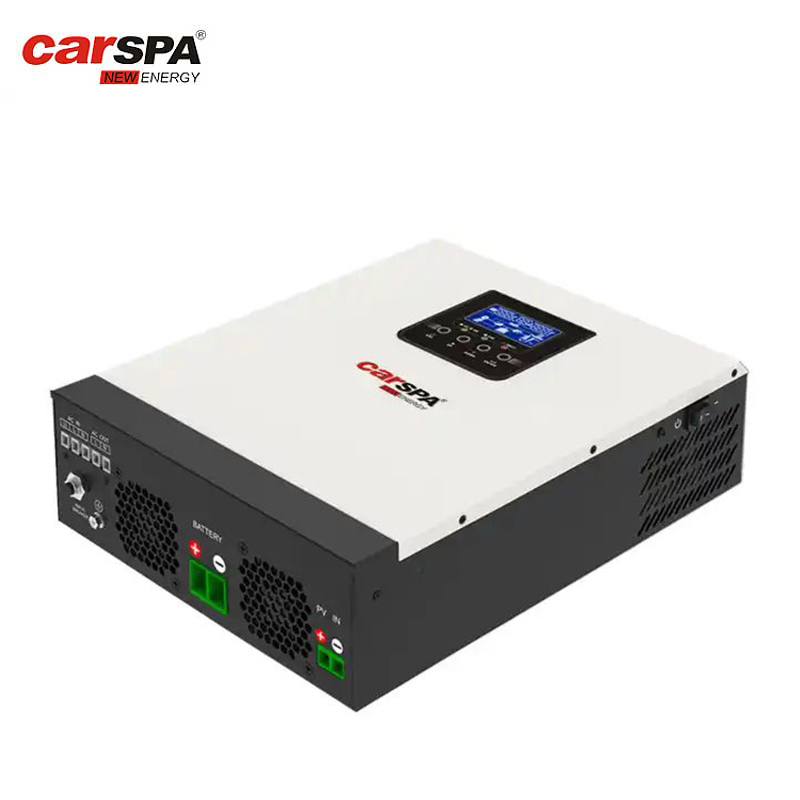
Inverter Selection: The inverter’s job is to convert the DC power from solar energy stored in the battery system into AC power that can be used in your home. It is crucial to choose a pure sine wave inverter with high quality and matching capacity. This is not only related to the efficiency of power conversion, but also affects the stability of the entire system and the service life of the appliance. For this reason, I chose the CARSPA brand 5000 watt power inverter because I learned that it is actually the foundry of many well-known inverters. It has R&D capabilities and supports customized services. It is a very reliable inverter manufacturer.
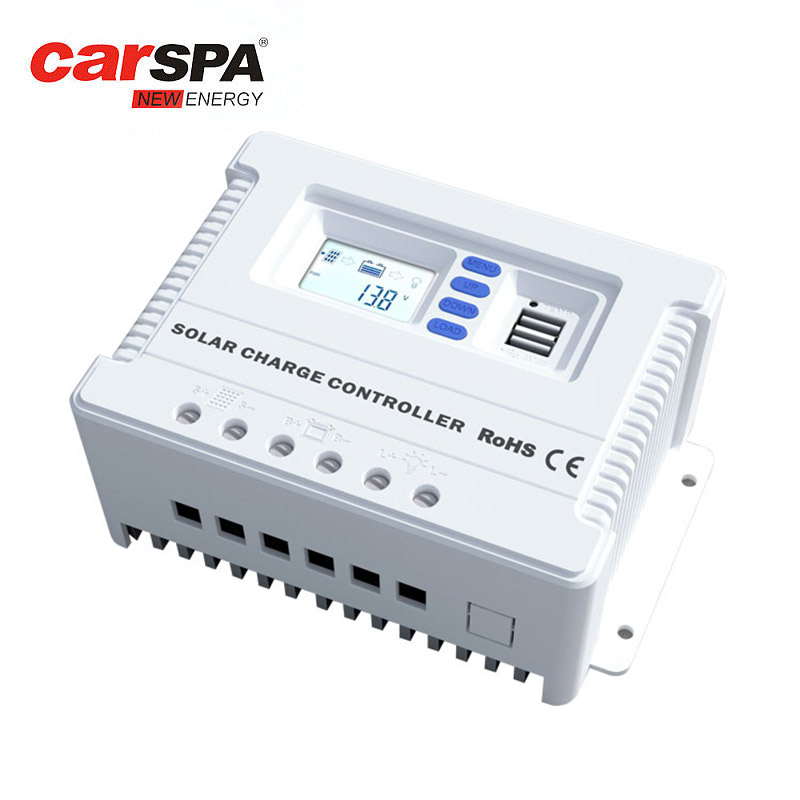
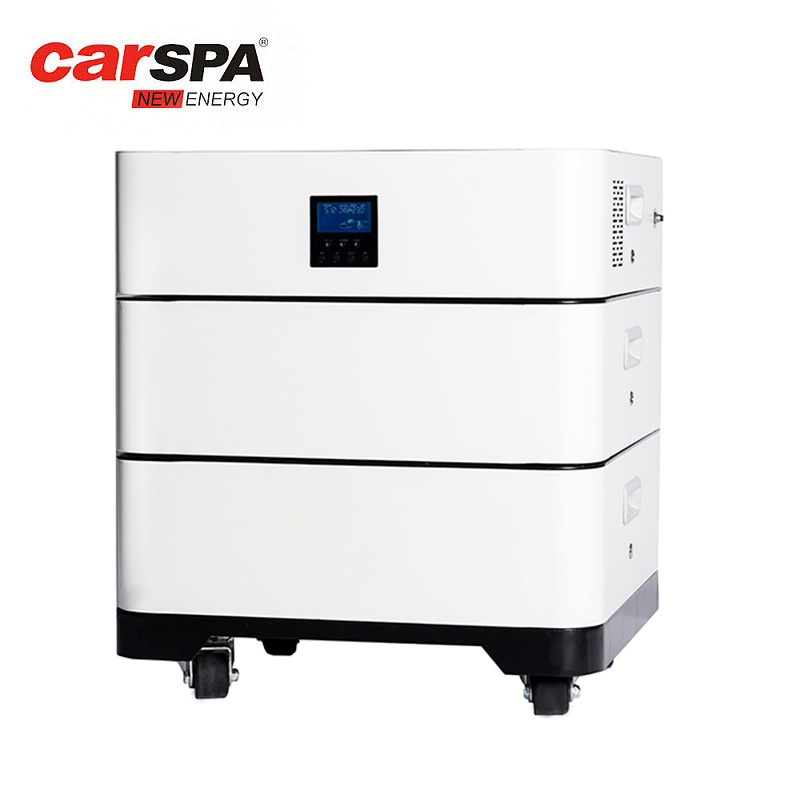
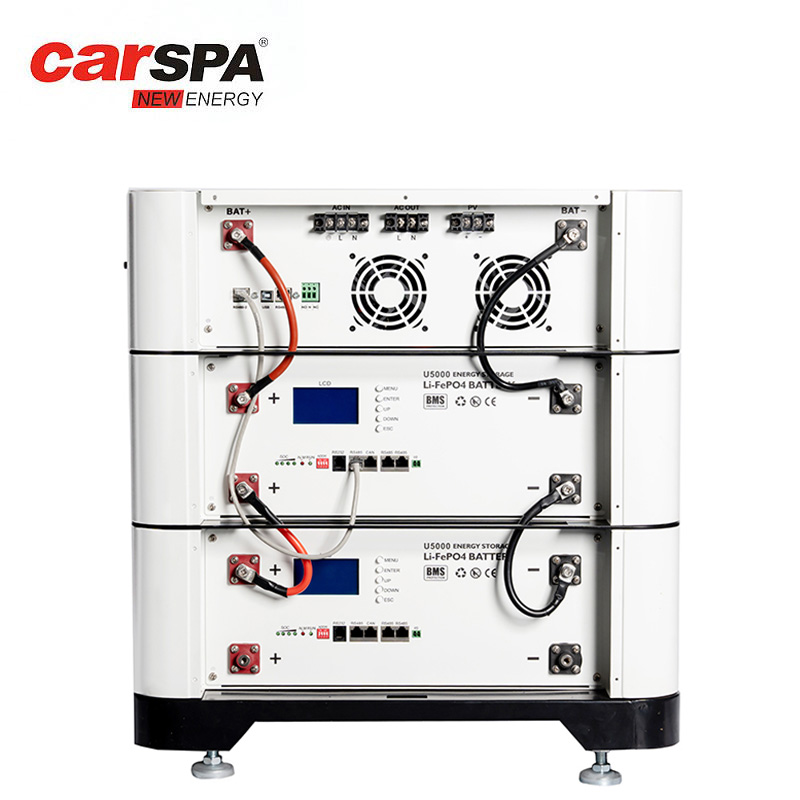
Battery Storage: To ensure there is still power during periods of non-sunlight, I installed lithium batteries of sufficient capacity. This required me to calculate the power demand at night and on cloudy days and select the total power storage accordingly. In addition, the type of battery also needs to be selected carefully. Typically, lithium batteries, although more expensive, provide better performance and longer life. In fact, in addition to the solar panel, I also prepared a charger that can charge the lithium battery. It can fully charge the lithium battery in advance when the power grid supply is normal. Of course, this charger is also purchased from CARSPA. In addition, there is a solar charge controller also purchased from CARSPA. Of course, I know there are many other well-known brands on the market, but those brands are so expensive on Amazon. Almost enough for me to build a doomsday fortress. Moreover, buying these products in the same store will make it easier for me to perform maintenance and contact after-sales service when I encounter problems later.
Accessories and wiring: To ensure safe and efficient operation of the system, all wiring materials must be of high quality that comply with national electrical standards. In addition, the selection of accessories including safety switches, junction boxes, etc. should also consider their durability and safety.
Step Two: Purchase Solar System Materials
Purchasing materials is a critical step in implementing a solar system. To do this, I make a detailed list of required materials and look for reliable suppliers in local markets or online platforms. As mentioned before, after I carefully compared the prices, product quality and user reviews provided by different suppliers, I found that the appearance of the products from many suppliers was very similar. After conducting a Google search and comparison based on the pictures, I finally settled on I found the CARSPA brand supplier, and I speculated that it is the foundry for many European brand inverters. Of course, the most important factor is the price. I don’t want to spend too much money on this thing that I shouldn’t have spent. I pursue cost-effectiveness more.
Step Three: Install Solar Panels
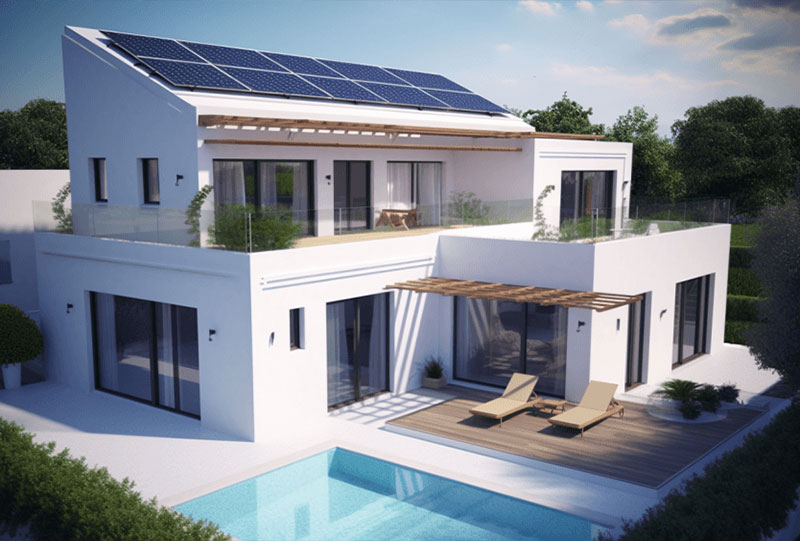
Installing solar panels is a highly technical process that requires precision and care. First, I needed to determine where the solar panels would be installed. The best location is the south-facing slope of the roof, which receives the most direct sunlight. Before installation, I will make sure the roof is structurally sound and has enough space to place all the panels.
Mounting Brackets: I use sturdy metal brackets to secure the solar panels. The brackets need to be installed to ensure that each solar panel receives maximum sunlight while avoiding any damage in extreme weather conditions.
Fixing solar panels: Each solar panel needs to be securely fixed to the bracket. During this process I will pay special attention to keeping the panels at the correct angle to maximize sunlight reception efficiency. All electrical connections must also be waterproof and moisture-proof, and all wiring must be secure and secure.
Step 4: Set up the battery and inverter
The installation of the battery and inverter is the most critical part of the system. The battery needs to be placed in a dry, cool place, away from direct sunlight and excessive temperature. The location of the inverters should also be chosen close to the batteries but ensuring adequate air circulation to avoid overheating, for this I chose to install them in a storage room on the north facing side of my house and I will store Most of the items in the room have been cleared to ensure air circulation.
Connecting the battery: Depending on the type of battery, I followed the manufacturer's instruction manual for the connections. This includes correctly connecting batteries in series and parallel and making sure all connections are secure. I also installed CARSPA's battery management coulomb counter to monitor the status of the battery and optimize its performance.
Installing the inverter: The installation of the inverter requires ensuring that its input and output terminals are properly connected to the battery and home grid. I double checked all the wiring and made sure the electrical connections were secure. Additionally, I plan to install an electric meter to monitor the entire system's electricity production and consumption, but I haven't purchased one yet.
Step 5: System connection and testing
With all the hardware installed, I made the final connections and tests of the system. This involves connecting the output of the solar panels to the solar charge controller, from the solar charge controller to the battery system, the battery system to the inverter, and the output of the inverter to the home grid. It sounds complicated, but it's actually very simple. I used a multimeter to check the voltage and current in each section to make sure everything was working as expected and there was no risk of leaks or shorts.
Testing: I conducted a full system operational test, including output testing in different weather conditions. This is a critical step to ensure system stability and efficiency. Additionally, I check the system's remote monitoring capabilities to ensure that system status can be monitored in real time via a smartphone or computer.
After testing, my system was confirmed to be running normally.
Step 6: Maintenance
Although the system has just been installed, in order to ensure the long-term stable operation of the system, I plan to develop a maintenance plan, including regular cleaning of the solar panels and inspection of the electrical system. The accumulation of dust and dirt on the surface of a solar panel can significantly reduce its efficiency, so I will regularly clean the panels with a soft brush and clean water. I also check all electrical connections and wiring to make sure nothing is loose or worn.
The above is the whole process of setting up a solar system. I am very happy to share this content. I am also grateful to the CARSPA brand for inviting me. I will continue to update my experience.